There is nothing like holding a whole jar of salsa in your hands, without any drips, that gets you excited about an upcoming paddling trip. Marian Wissink and I spent the last week turning 40 kg of “wet” food into 10 kg of “dry” food in preparation for a 90 day canoe trip this spring and summer. Dehydrating food helps diversify field rations to keep them interesting on a long trip, allows fruits & veggies to be an integral part of the menu, and provides for many tasty meals.
People seemed very interested in the #dryerfest pictures I was posting so I thought I would share some things we’ve learned along the way to dry food.
1) Dry It, You’ll Like It
You can dry food in many ways: in your oven, in the sun, in a food dryer. I’ve done all three and love using my Excalibur Food Dehydrator the best. With its nine square trays and back centred fan, it dries food very well and reasonably quickly.

2) Dry Eggs and Ham
You can dry entire meals (like chili or shepherd’s pie. You can dry individual foods like bananas or broccoli, oh my. You can dry meat or fish, chicken or tofu. You can even dry eggs and ham! You are limited only by your imagination, your time for trip prep, and a few technical challenges (i.e. it can be difficult to dry fattier foods). The picture below is Marian blotting fat off cheddar cheese we were drying.

3) Oh The Places Your Food (and you) Will Go
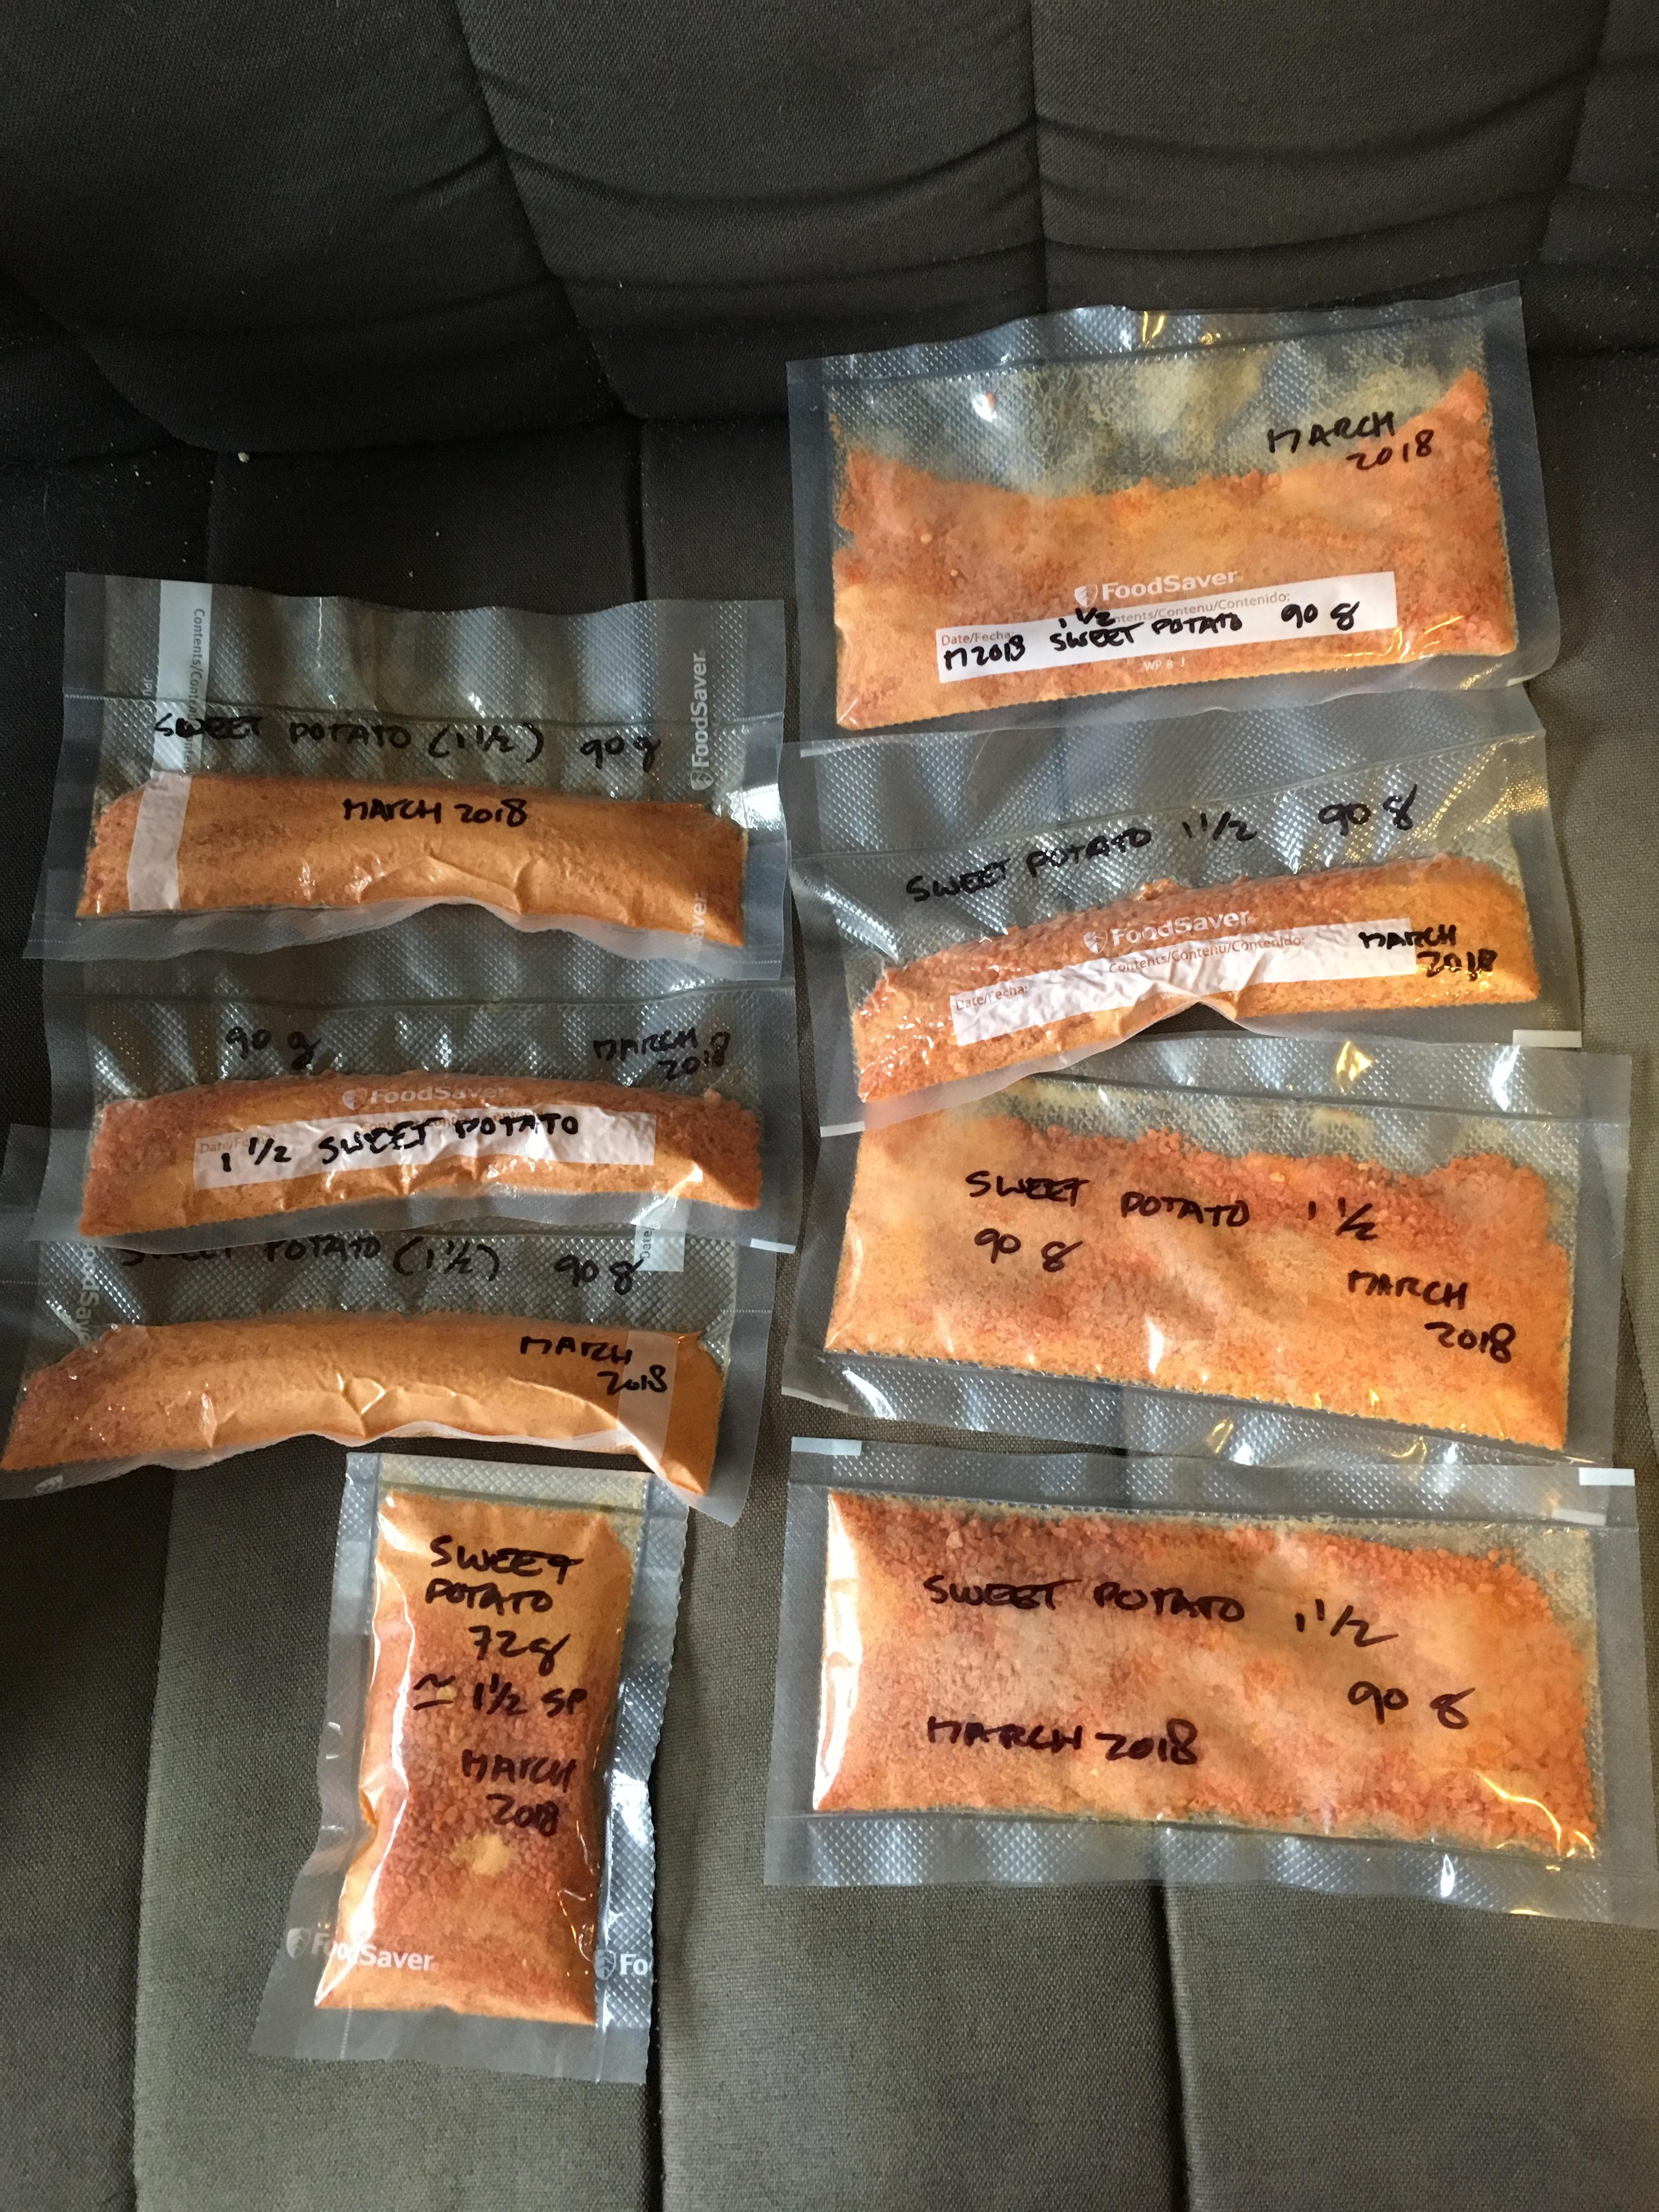
One of our favourite things to dry is condiments and trip treats like salsa, olives, applesauce, and pickles. On a short trip, you can likely bring these in their “water-enhanced” state but on a longer trip, grams turns into many kilograms so drying them saves valuable space and weight. In the picture below, you can see that drying turned 11 sweet potatoes into much more manageable sweet potato powder with little loss of taste, texture, and nutrients once they are rehydrated.
4) One Fish, Two Fish, Red Fish, Blue Fish
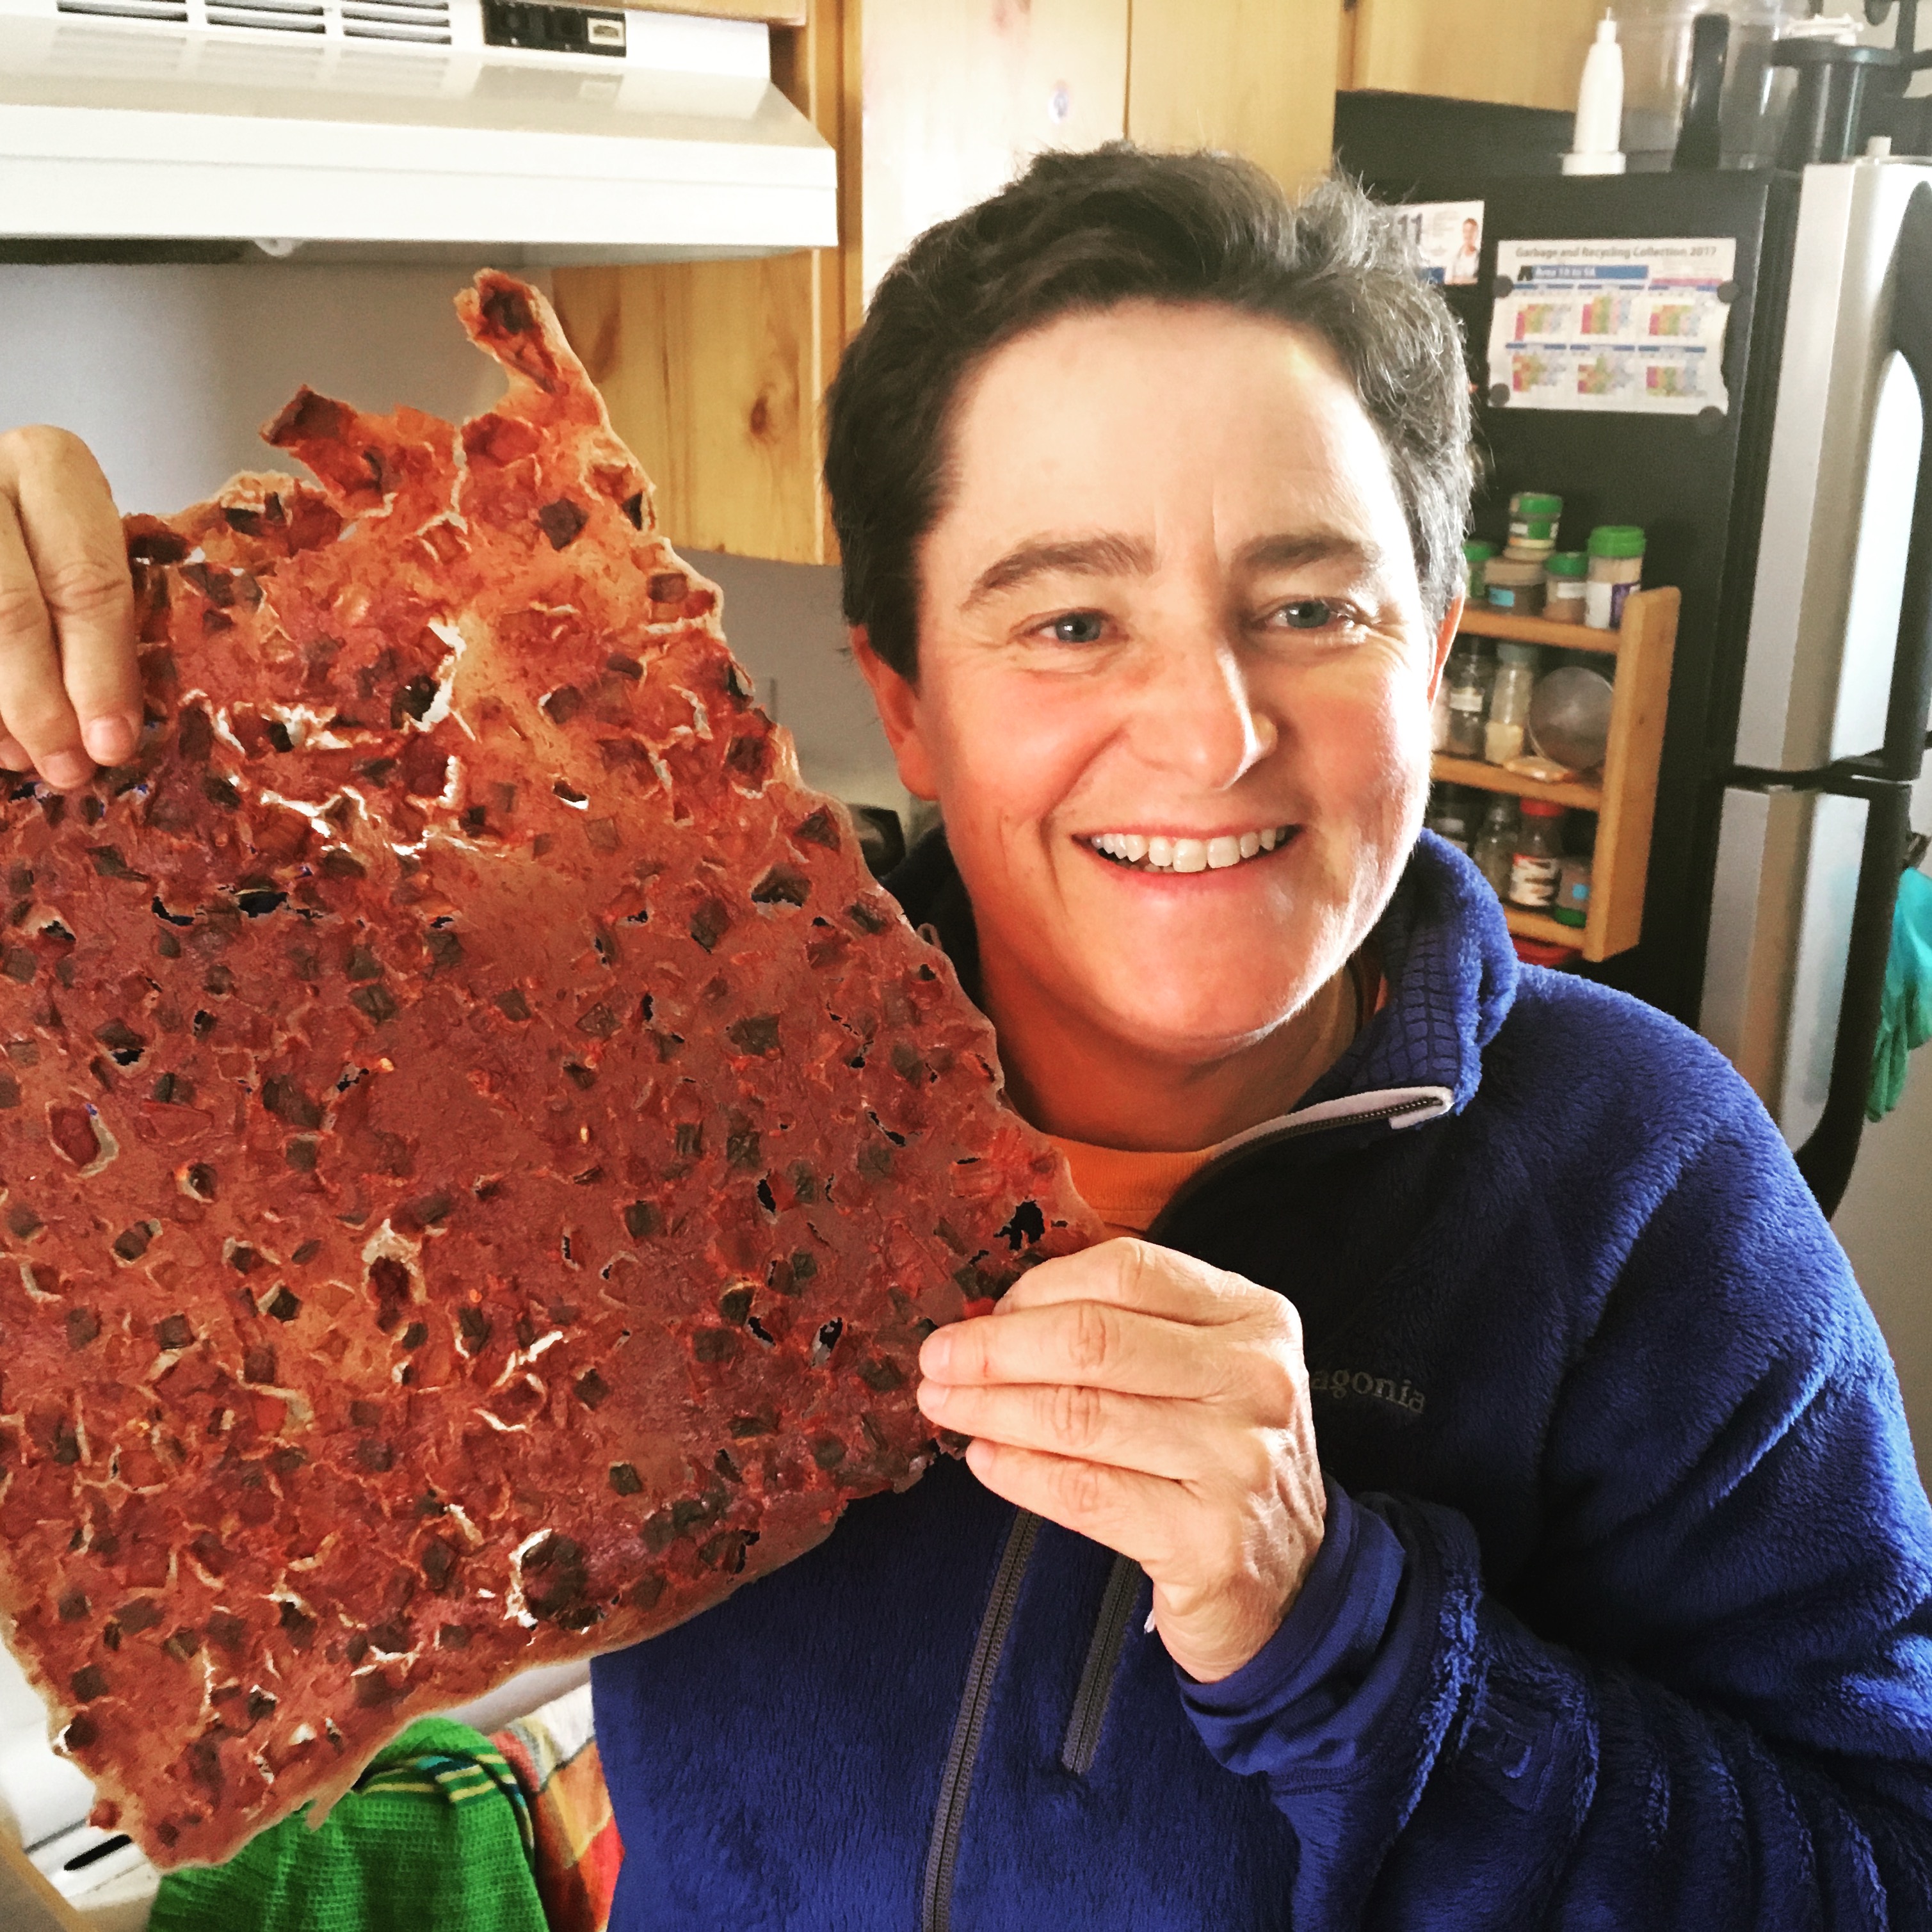
Yes, it is possible to dry fish (it’s been done for centuries). For long trips, I will often dry some tuna for use in the last few days of a trip. No matter what you are drying, dry it well. The longer you need to store it, the dryer it needs to be. Our trip is a few months away yet, so we made everything very, very dry and then vacuum sealed it all to keep air and moisture out. For trips just a few days out, I leave a little chew in my fruit and berries. Some food gets very sharp when it is dried, making it a challenge to keep it from poking through the vacuum seal bags and thus breaking the seal. We’ve taken to wrapping prickly dry foods in paper towels to prevent this-the bonus is that you get a piece of fire starter to use or a quicker picker upper to give those camp pots a wipe. In the picture below, you can see the volume savings of drying a 2L jar of pickles and the paper towel vacuum seal trip because indeed, we packed a peck of prickly pickles.

5) Dry Like Dinner
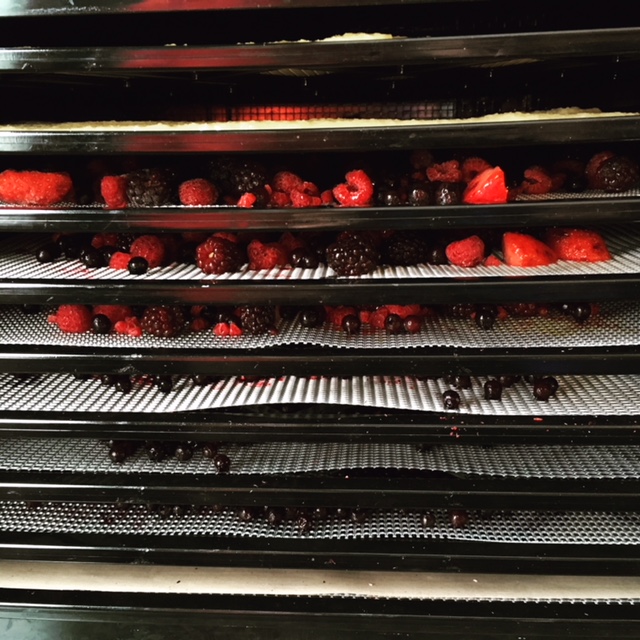
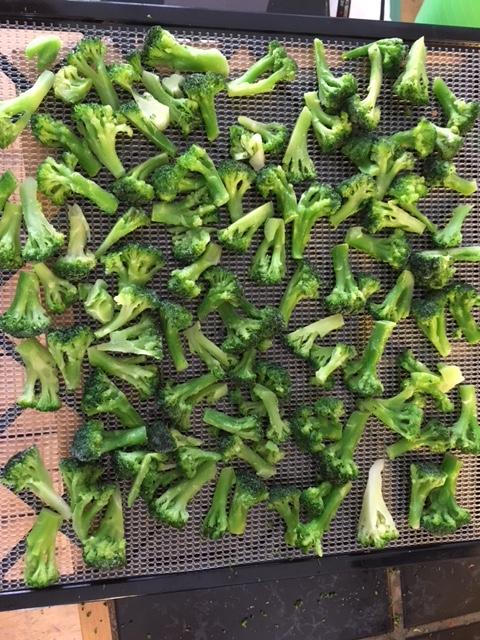
Finally, drying your own food can save you some money but does take a bit of time. If you buy what I can “envelope food” a.k.a backpacker freeze-dried food (of which I happily existed on for 28 days straight when Zi skied across Greenland), it will cost you about $8 for one serving of corn. For that same $8 and some electricity, Marian and I turned 2.5 kg of frozen corn into 600 grams of yumminess to enjoy in about 30 meals. For quick and easy drying, choose frozen fruits and veg as they have already been blanched, cut into even sized pieces, and dry quickly. Similarly, canned chicken and ground beef (cook it and drain off all the fat) dry and rehydrate well. Canned beans dry up right nice as well. In the picture below, you see frozen broccoli ready for drying.
So, dry it, you’ll like it!
")


